I started by buying the solar cells off ebay (see post below) and soldering, aka tabbing, them together. Once I knew what size glass I needed (26" x 32") I went to the local glass supplier and ordered my sheet of glass which cost about $45.
Then I went to the local steel supply shop and picked up 20 feet of 1"x1" angle iron($16). I cut and welded the frame together, put in the glass and sealed it with silicon sealant. (Note: if you don't have access to a welding machine, the best thing to do is order an aluminum solar panel frame off ebay for around $35)
(To see pictures of how I made the frame, see the post below)
Next I had to install the solar cells in place and encapsulate them with silicone resin. The purpose of encapsulation is to keep moisture and condensation out.
Here is the frame with glass and paint sitting in my dining room, ready to have the cells installed and encapsulated
Here are the cells set in place ready to be taped down and encapsulated
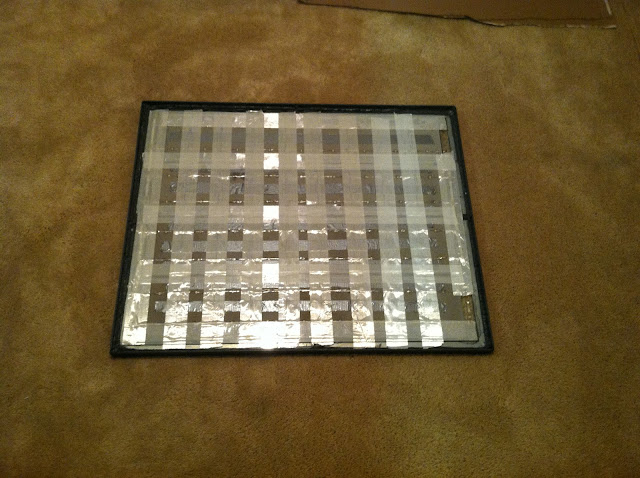
Here are the cells taped down. I didn't get a shot of the resin being applied but it basically looks just like this photo since its completely clear.
And here she is finished and powering a small 12v computer fan. Not very impressive I know but its capable of powering about 20 of those fans simultaneously. Also the idea is to charge up deep cycle 12v batteries which are capable of powering almost all of your house hold electrical needs.
Welp thats it. I hope you liked my home made solar panel. Next time I'll probly spend the 15 or 20 extra bucks and buy the aluminum frame off ebay. Also I'm going to try out the dimpled glass they sell on there too. Supposedly it works better the normal tempered glass that I used.


No comments:
Post a Comment